How to Manage Hot Desk Bookings (Step-by-Step)
Hot desk bookings can quickly become chaotic with back-and-forth messages, double bookings, and unclear rules. The good news: with a simple, consistent setup you can make bookings effortless for members and staff.
In this guide, you'll learn a proven, step-by-step flow to set up hot desk bookings that are simple for members, clear for staff, and optimized for revenue.
What You'll Learn
- How to structure your hot desk inventory and booking rules
- How to launch self-service bookings that reduce admin time
- How to automate confirmations, access, and invoices
- How to track usage and optimize occupancy over time
Step 1: Map Your Inventory and Booking Rules
Start by deciding exactly what can be booked and when.
- Name your desk areas (e.g., "Open Area A", "Quiet Zone B")
- Set booking granularity (hourly, half-day, full-day)
- Define lead time (how far in advance) and cancellation policy
- Add buffers for cleaning or turnover between bookings

Step 2: Configure Time Slots and Buffers
Keep slots predictable to reduce conflicts and increase utilization.
- Choose standard hours (e.g., 9:00–18:00) with optional early access
- Add 10–15 minute buffers between hourly bookings
- Reserve a small block of desks for walk-ins
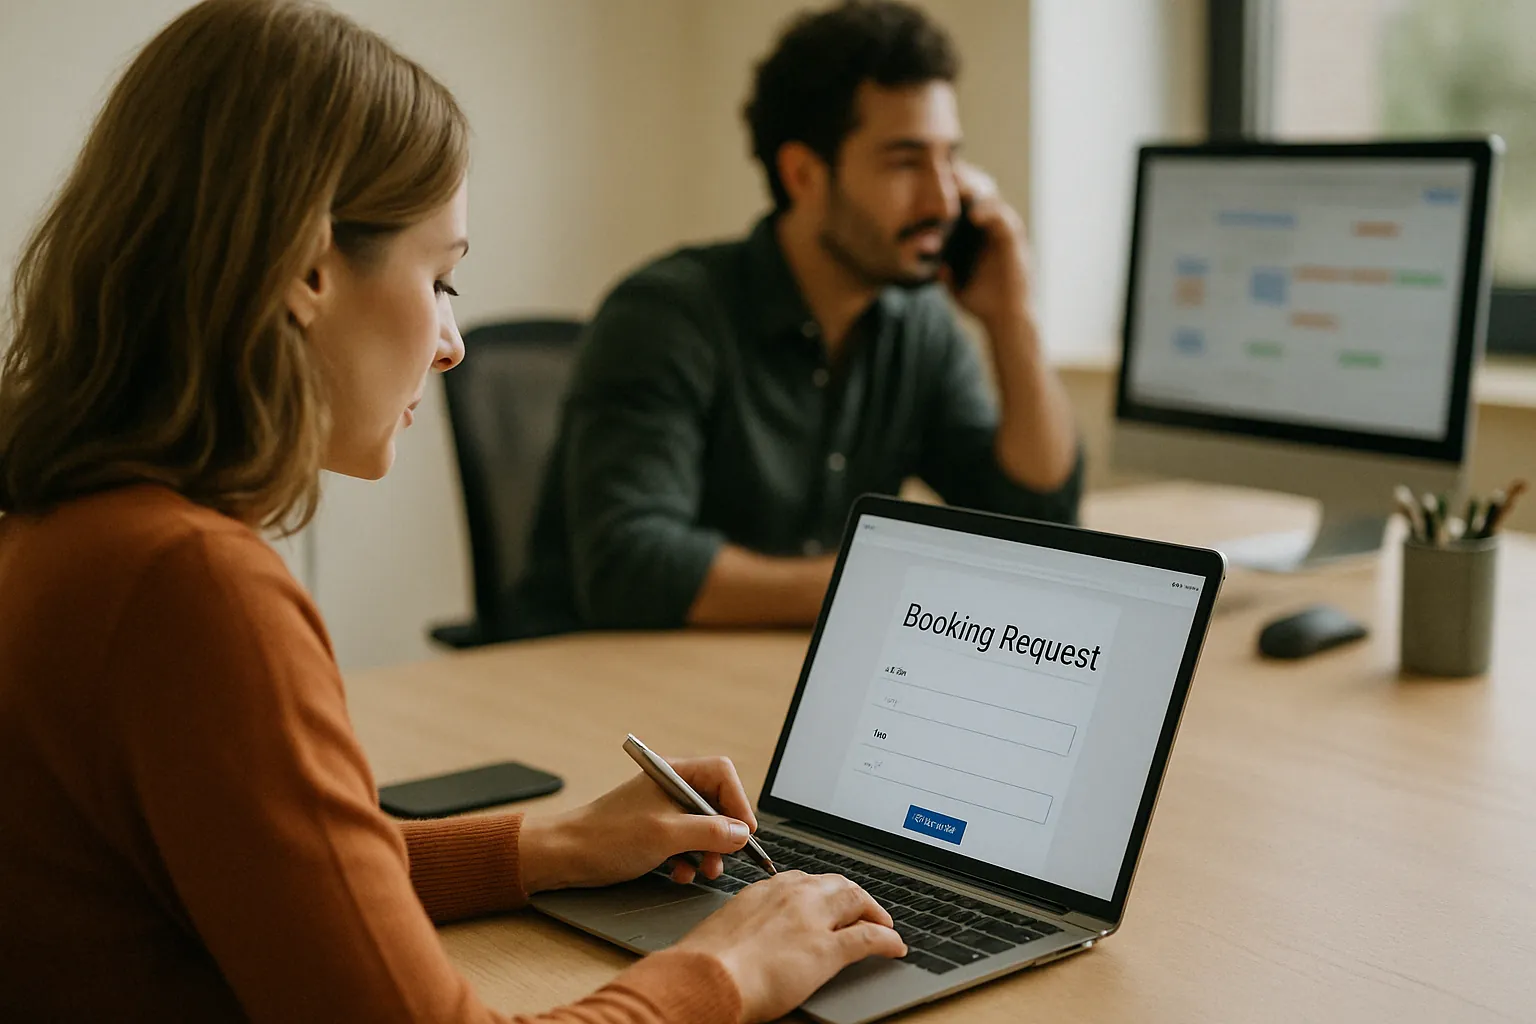
Step 3: Launch Self‑Service Booking for Members
Let members book without staff intervention and you'll immediately reduce manual work.
- Publish a simple booking page members can trust
- Show real-time availability and pricing
- Send instant confirmations with calendar attachments
Use your member portal to streamline the flow: manage hot desks in Desks and surface reservations in the members app.
Step 4: Automate Confirmations, Access, and Billing
Avoid manual steps—automate them so every booking is consistent.
- Auto-send confirmation emails with ICS attachments
- Grant door access for the booking window only (access control)
- Generate invoices and collect payment automatically (automatic payments)
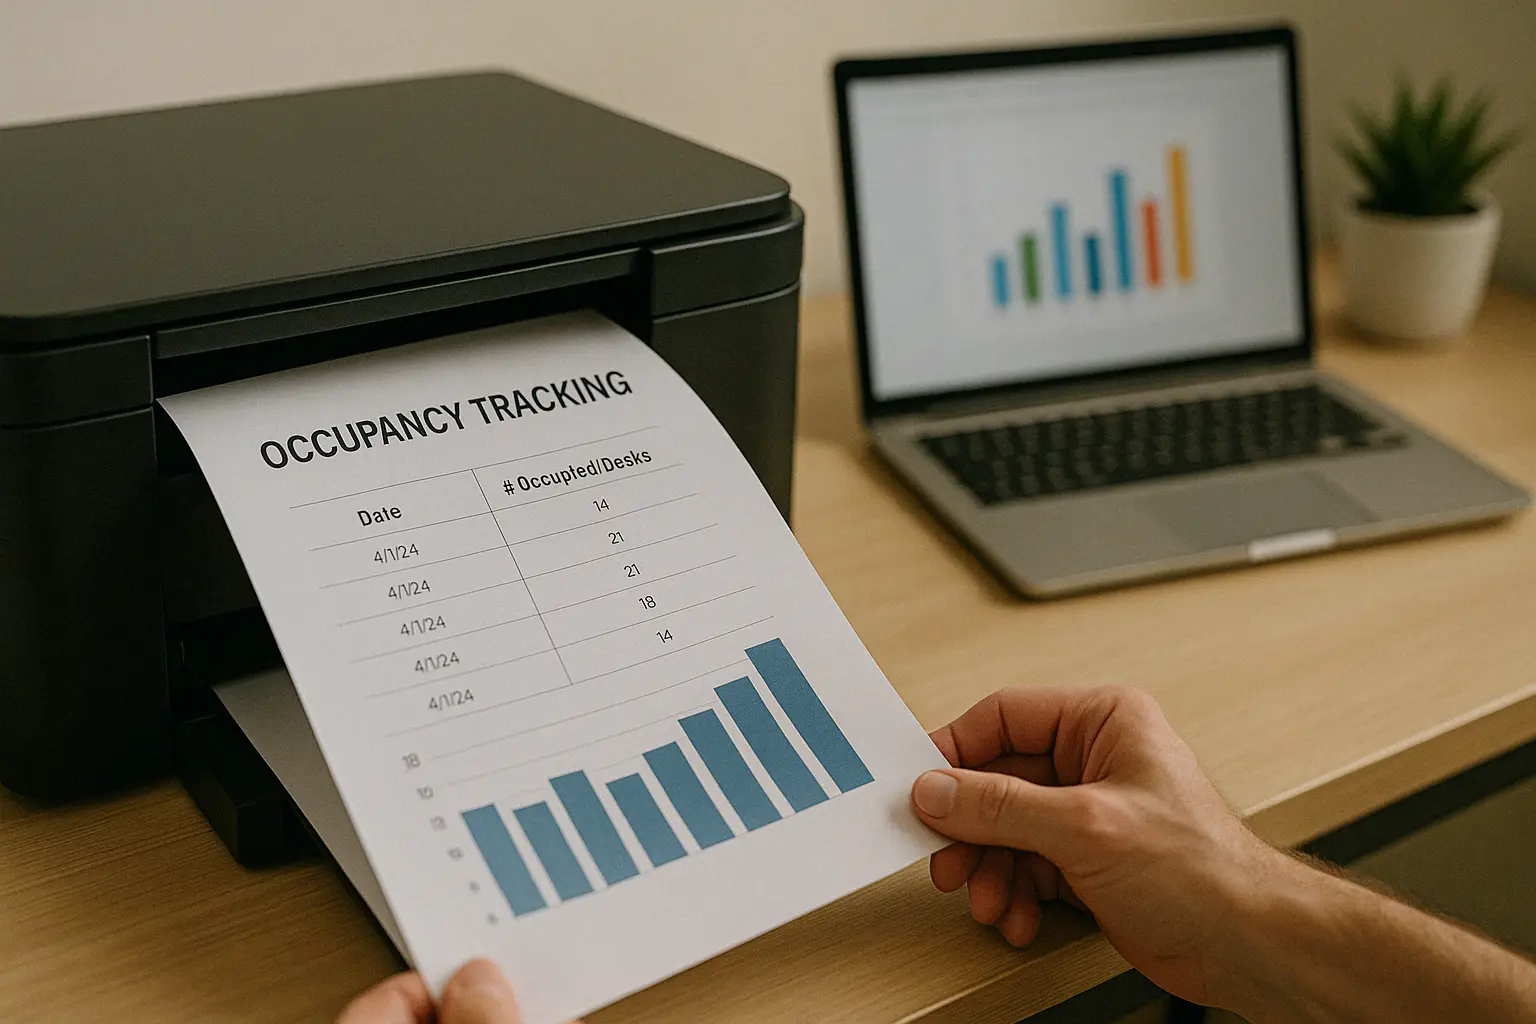
Step 5: Track Usage and Optimize Occupancy
Use data to improve pricing, inventory, and staffing.
- Monitor peak hours and underused areas
- Test off-peak discounts and bundles
- Review cancellation and no-show rates monthly
Check your dashboards in Reports to track utilization, revenue per desk, and booking conversion.
Common Mistakes to Avoid
- Mixing hourly and daily rules without clear boundaries
- No buffers—leading to back-to-back overlaps and disputes
- Hidden fees or unclear cancellation policies
- Accepting bookings via chat after launching self-service
FAQ
Next Steps
Ready to make hot desk bookings effortless? Launch self‑service reservations with Easy Space: explore Desks and see Pricing to get started.